Chicken Piccata with Brown Butter and Crisp Capers
Most chicken piccata recipes tell you to cook the cutlets 3 minutes a side and call them done. That is useless without a thickness. A half inch cutlet finishes in four minutes. A three quarter inch cutlet is still translucent at six and chalky at eight. We cook this by temperature.
One honest tip up front. Salt the cutlets and leave them 15 minutes before the flour goes near them. Breast carries almost no fat, so salt added at the last second sits on the surface and tastes like salt on bland meat.
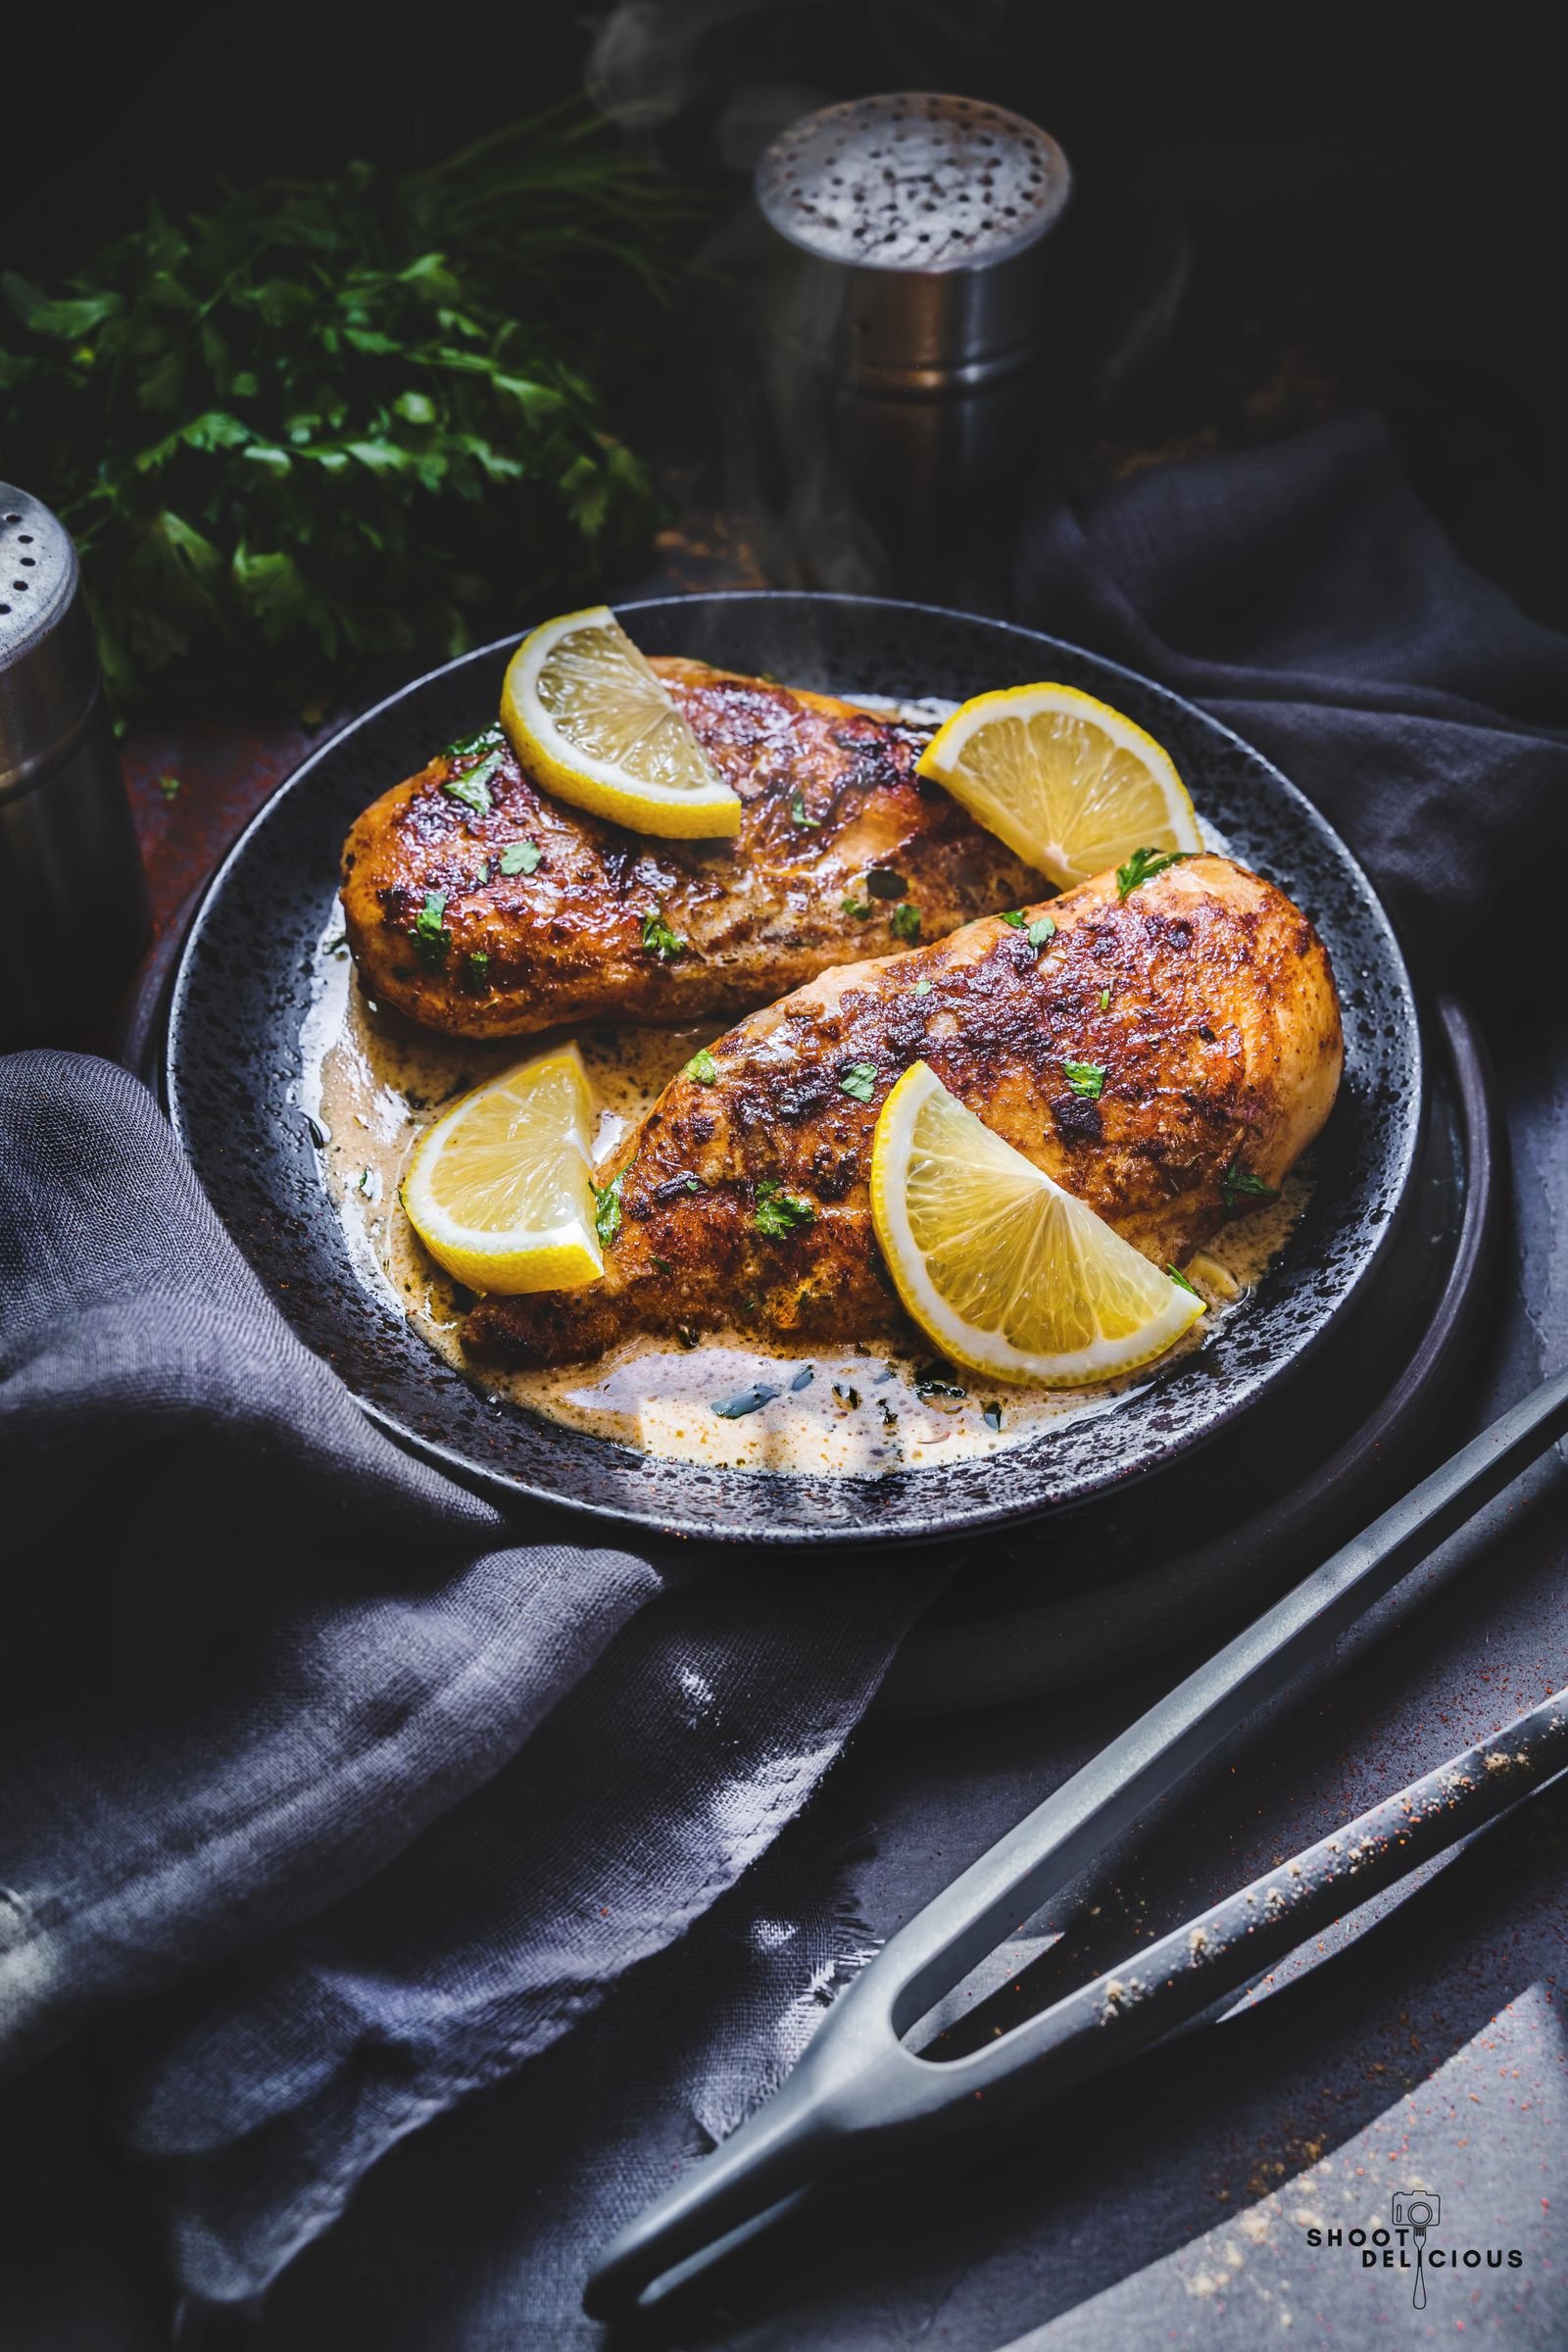
Our hero addition is brown butter, with the capers fried crisp before the sauce is built. Standard piccata simmers soft capers in pale butter and they go slack. Fry them for 60 seconds and they burst open and turn crunchy. Brown the butter and the sauce gains a toasted backbone that carries a quarter cup of lemon juice.
Why this recipe works
- It runs on a temperature, not a timer. We pull at 155F and let the sauce finish the job.
- The capers get fried first. Crisp capers give texture and salt in one bite. Simmered capers give neither.
- Brown butter carries the acid. Toasted milk solids let you use more lemon without the sauce tasting thin.
- The flour is doing real work. It dries the surface, builds the fond, and thickens the sauce.
- Even cutlets mean even doneness. We get there with a knife, not by beating the breast flat.
Which chicken to buy, and how to cut it
Buy whole boneless skinless breasts and cut them yourself. Supermarket cutlets are usually sliced off the thin tail end, and you cannot see what you bought until it is in the pan. Two breasts of around 12 oz (340 g) feed four. Our guide to chicken breast explains why this cut dries out: almost no intramuscular fat and little connective tissue, so nothing replaces the moisture the fibres squeeze out.
Slicing beats pounding. Lay the breast on a wood board, rest your palm flat on top, and run a sharp knife horizontally through the middle. Pounding tears fibres, costs you moisture, and usually calls for plastic wrap. We avoid plastic against food that is being struck. Thighs work too: see the chicken cuts guide or our poultry section.
Ingredients
Chicken and dredge
- 1 1/2 lb (680 g) boneless skinless chicken breast, about 2 large breasts
- 1 1/2 tsp fine sea salt
- 1/2 cup (65 g) all purpose flour
- 1 tsp finely grated lemon zest
- 1/2 tsp black pepper, freshly ground
- 2 tbsp (30 ml) olive oil
Sauce
- 3 tbsp (25 g) capers, drained and patted dry
- 5 tbsp (70 g) unsalted butter, divided
- 1/2 cup (120 ml) dry white wine
- 3/4 cup (180 ml) chicken stock
- 1/4 cup (60 ml) lemon juice, from about 1 1/2 lemons
- 2 tbsp chopped flat leaf parsley
Substitutions. Swap the wine for another 1/2 cup of stock plus 1 tsp of white wine vinegar at the end. Salt packed capers beat brined ones and need a 10 minute soak. Green olives stand in, though you lose the crisping trick. A 1:1 gluten free blend browns darker, so drop the heat slightly.
How to make chicken piccata
1. Cut the cutlets and salt them
Slice each breast horizontally into two slabs about 1/2 inch (13 mm) thick. Salt both sides and rest on a rack 15 minutes at room temperature, so the salt dissolves and draws back into the meat.
2. Dry the surface and set up the dredge
Blot each cutlet until it looks matte. Wet chicken steams before it browns. Mix the flour, lemon zest, and pepper in a shallow dish, and keep a metal fish spatula within reach.
3. Fry the capers crisp
Heat the olive oil in a 12 inch stainless or cast iron skillet over medium and add the dried capers. They spit, then settle, and in 60 to 90 seconds they open out and go crunchy. Lift them onto a wood board, leaving the caper oil behind. A heavy pan helps: see our cast iron skillet picks.
4. Dredge at the last moment
Press each cutlet into the flour, turn it, shake off everything loose, and cook it straight away. Flour left on damp chicken turns to paste and sheds in the pan as a grey skin.
5. Sear to 155F
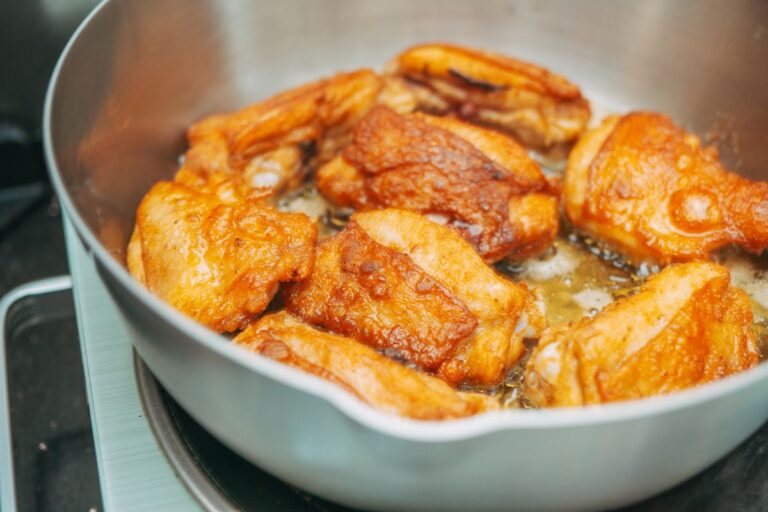
Raise to medium high and add 1 tbsp butter. When it stops foaming, lay in two cutlets. Sear 2 1/2 to 3 minutes until deep gold, flip once, then 2 minutes more. Pull at 155F (68C) measured at the thickest point and rest on a warm plate while the second pair cooks. Our pan searing guide covers heat management.
6. Brown the butter
Drop to medium. If the pan has black specks, tip out the fat and wipe, leaving the brown fond. Add 2 tbsp butter. It foams, quietens, and after about 90 seconds the milk solids turn hazelnut brown and smell of toast. Move immediately.
7. Deglaze and reduce
Pour in the wine, which halts the browning, and scrape up the fond with a wooden spoon. Reduce by half, about 2 minutes. Add stock and lemon juice and simmer to roughly 2/3 cup, about 4 minutes. It should taste sharp enough to make you blink.
8. Mount the butter off the heat and serve
Off the burner, wait 20 seconds, then swirl in the last 2 tbsp of butter, cold and cubed, until the sauce turns glossy. Off heat is not optional. Return the cutlets and their juices for 30 seconds, turning once, then scatter the capers and parsley. The chicken reads 160 to 165F (71 to 74C) by now and has rested enough.
Internal temperature, and why thickness decides everything
Poultry is safe at 165F (74C) the instant it gets there. It is equally safe at 155F (68C) held for about a minute, because pasteurisation is a relationship between heat and time, not a single number. A cutlet pulled at 155F and returned to simmering sauce clears that bar, and carries over 5 to 10 degrees as it rests.
Breast fibres contract hard above about 150F and the squeeze worsens with every degree, so chicken taken to 175F is drier than the same piece at 163F. Thickness decides the rest. A 1/4 inch cutlet is overdone before you can get the probe in, while a 1 inch breast is grey a quarter inch deep by the time the middle is done. Thin is not a shortcut. It is the mechanism.
What the flour is actually for
Recipes call dredging a coating step, which undersells it. Dry flour pulls surface moisture, so the cutlet browns seconds after hitting the fat instead of steaming. The starch touching the pan caramelises and grips, and that stuck layer is the fond your sauce is built on. Flour that falls off stays in the fat as loose starch and thickens the sauce without a separate roux. Shaking off the excess cuts both ways. Too much gives gummy patches. Too little leaves the sauce watery.
Pasture raised and air chilled chicken behaves differently
Conventional supermarket chicken is usually chilled in a water bath and absorbs some of it. That water comes back out in a hot pan, which is why those cutlets sit in a puddle and go pale instead of golden. Air chilled birds carry none, and pasture raised birds grow slower with denser muscle. They brown faster, so take 30 to 45 seconds off each side and watch colour, not the clock. There is also less free water to lose, so overcooking shows up sooner.
Pro tips and common mistakes
- Do not cook all four at once. A crowded pan drops below browning temperature and you end up poaching.
- Cold butter at the end, off the heat. A hot pan plus soft butter gives you a greasy split sauce.
- Taste the sauce before the chicken goes back in. Fixing a salty sauce afterwards is much harder.
- Hold the capers back until the last second. What you gained by frying them is lost in a minute of simmering.
- Use a metal fish spatula, not tongs. Tongs tear the floured surface.
Troubleshooting
- Sauce split into butter and liquid. The pan was still over heat, or the butter went in at once. Pull it off, add a tablespoon of cold stock, and whisk hard in one direction. If it refuses, whisk the broken sauce into fresh cold butter in a cool bowl.
- Sauce tastes greasy. Too much fat in the pan before deglazing. Pour off all but a tablespoon after searing.
- Sauce is thin. Not reduced far enough, or too much flour shaken away. Reduce 2 minutes longer.
- The coating slid off. The chicken was wet, or floured early and left to sit. Blot, dredge, cook immediately.
- Sauce is bitter. The butter went past brown to burnt, or the fond scorched. Brown butter has a 20 second window.
- Chicken is dry at 155F. The cutlets were uneven, so the thin end passed 175F while the probe sat in the thick end.
Storage and leftovers
Store chicken and sauce together in a sealed glass or stainless container for up to 3 days, and keep leftover capers separate and dry. Reheat in a covered pan over low heat with a splash of stock, turning once, about 5 minutes. A microwave breaks the emulsion. We do not freeze it, because the butter sauce separates on thawing.
What to serve with it
- Angel hair or linguine. Tossed with a ladle of pasta water and a spoonful of sauce before the chicken goes on.
- Crushed new potatoes. Split with the side of a knife and pressed flat to catch sauce. Better than mash for soaking up acid.
- Blistered green beans or asparagus. Cooked hard in a dry pan until spotted, then salted. The char plays against lemon.
- Bread with a tight crumb. Nothing with large holes, since the sauce falls straight through.
Our chicken marsala with wild mushrooms uses the same pan sauce logic with a darker finish. Our grilled chicken breast method is the leaner option.
Nutrition
About 450 calories, 39g protein, 26g fat, and 8g carbs per serving, based on 4 servings. These are estimates and vary with the size of the breasts you buy, how much dredging flour actually sticks, and how much of the butter sauce ends up on your plate rather than in the pan.
Frequently asked questions
What internal temperature should chicken piccata be?
Pull them at 155F (68C) and return them to the simmering sauce for 30 seconds, which holds them there long enough to be safe and takes them to 160 to 165F with carryover. If you want one number and no thinking, cook to 165F (74C).
Can I use chicken thighs instead of breast?
Yes. Thighs are more forgiving because the fat and connective tissue buy you time. Open them flat, trim the thick seam of fat, and cook to 175F (79C). Allow 4 to 5 minutes a side. The sauce stays the same.
Do I have to use wine?
No. Use another 1/2 cup of stock and add 1 tsp of white wine vinegar at the end. You lose a little aroma and nothing structural. Avoid supermarket cooking wine, which is salted and will wreck the balance.
Why did my sauce turn brown and murky instead of glossy?
Usually too much loose flour in the pan, or fond that scorched during the sear and dissolved into the liquid. Shake the cutlets harder, and if the fond looks black rather than mahogany, wipe the pan before you brown the butter.
Can I make chicken piccata ahead for a dinner party?
Partly. Slice, salt, and refrigerate the cutlets a day ahead, and fry the capers a few hours ahead. Searing and sauce happen at the last moment, because a mounted butter sauce does not hold.
Where to buy chicken worth cooking this way
A dish this stripped back puts the meat on display. Four things in the sauce, one of them lemon, and nothing to hide behind. Our Find a Farmer directory lists producers by state, and chicken is easy to source direct, since most pasture poultry farms sell whole birds and breast portions through farm shops, markets, or delivery. Two whole breasts cut into your own cutlets cost less per serving than pre sliced.